
Canvas Pages are a powerful tool for organizing the content in your Canvas course. As with any webpage, Canvas Pages can be used to contain text, hyperlinks, images, multimedia, and other types of digital content. But beyond simple matters of content, Pages also make it possible for you to manipulate the look and feel of your Canvas site, making it more visually appealing, helping to increase student engagement, and allowing for greater ease of navigation. In the following post, we will outline the creative possibilities inherent in Canvas Pages and offer some tips as to how you can make them work for you.
- Create a Canvas Page
- Customize a Canvas Page
- Use a Canvas Page as Your Course Home Page
- Organize Your Canvas Pages
- Further Resources and Getting Help
Create a Canvas Page
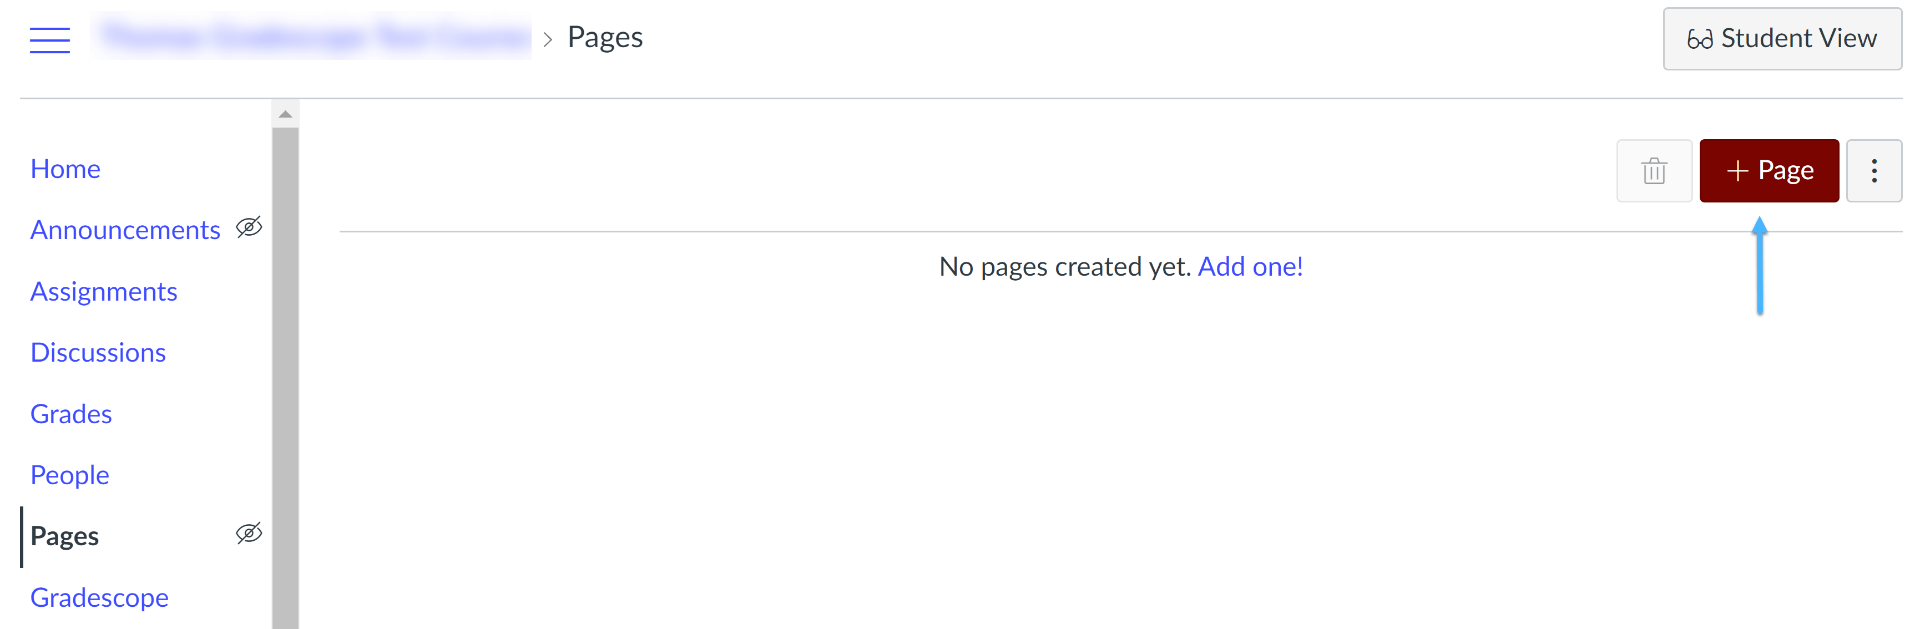
To create a page within Canvas, simply click on the Pages tab within your course navigation menu and then click on the maroon +Page button at the upper right.
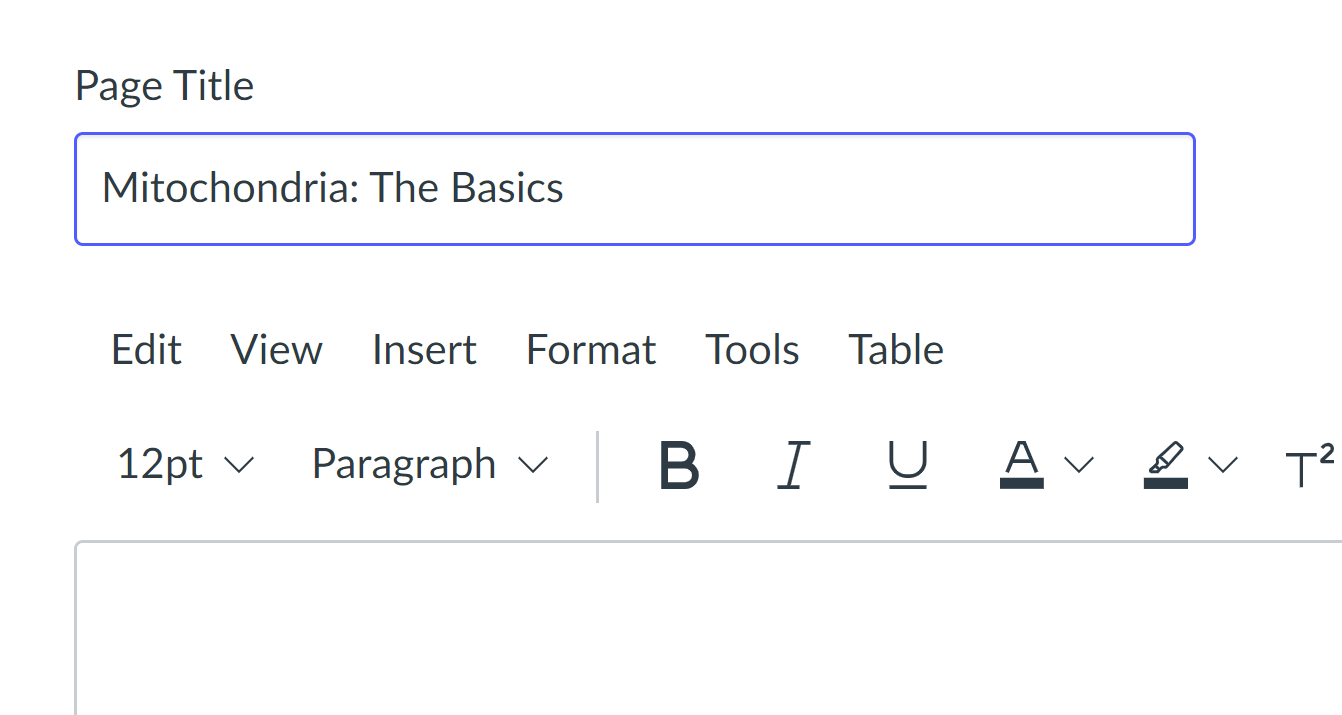
Be sure to give your page a unique name. This will help ensure that you and your students know the page’s contents and can find it quickly.
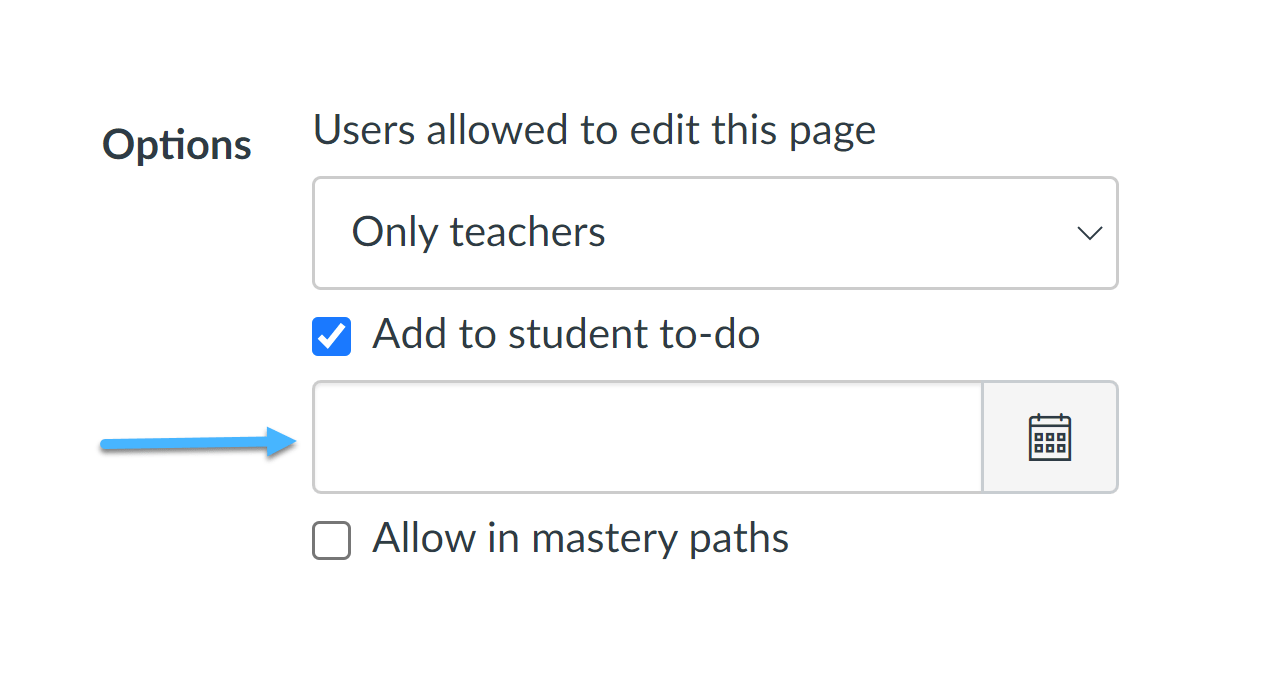
Note that if you want to encourage students to view a particular page, you can check the Add to student to-do checkbox at the bottom of the page and then give it a due date, similar to Canvas Assignments.
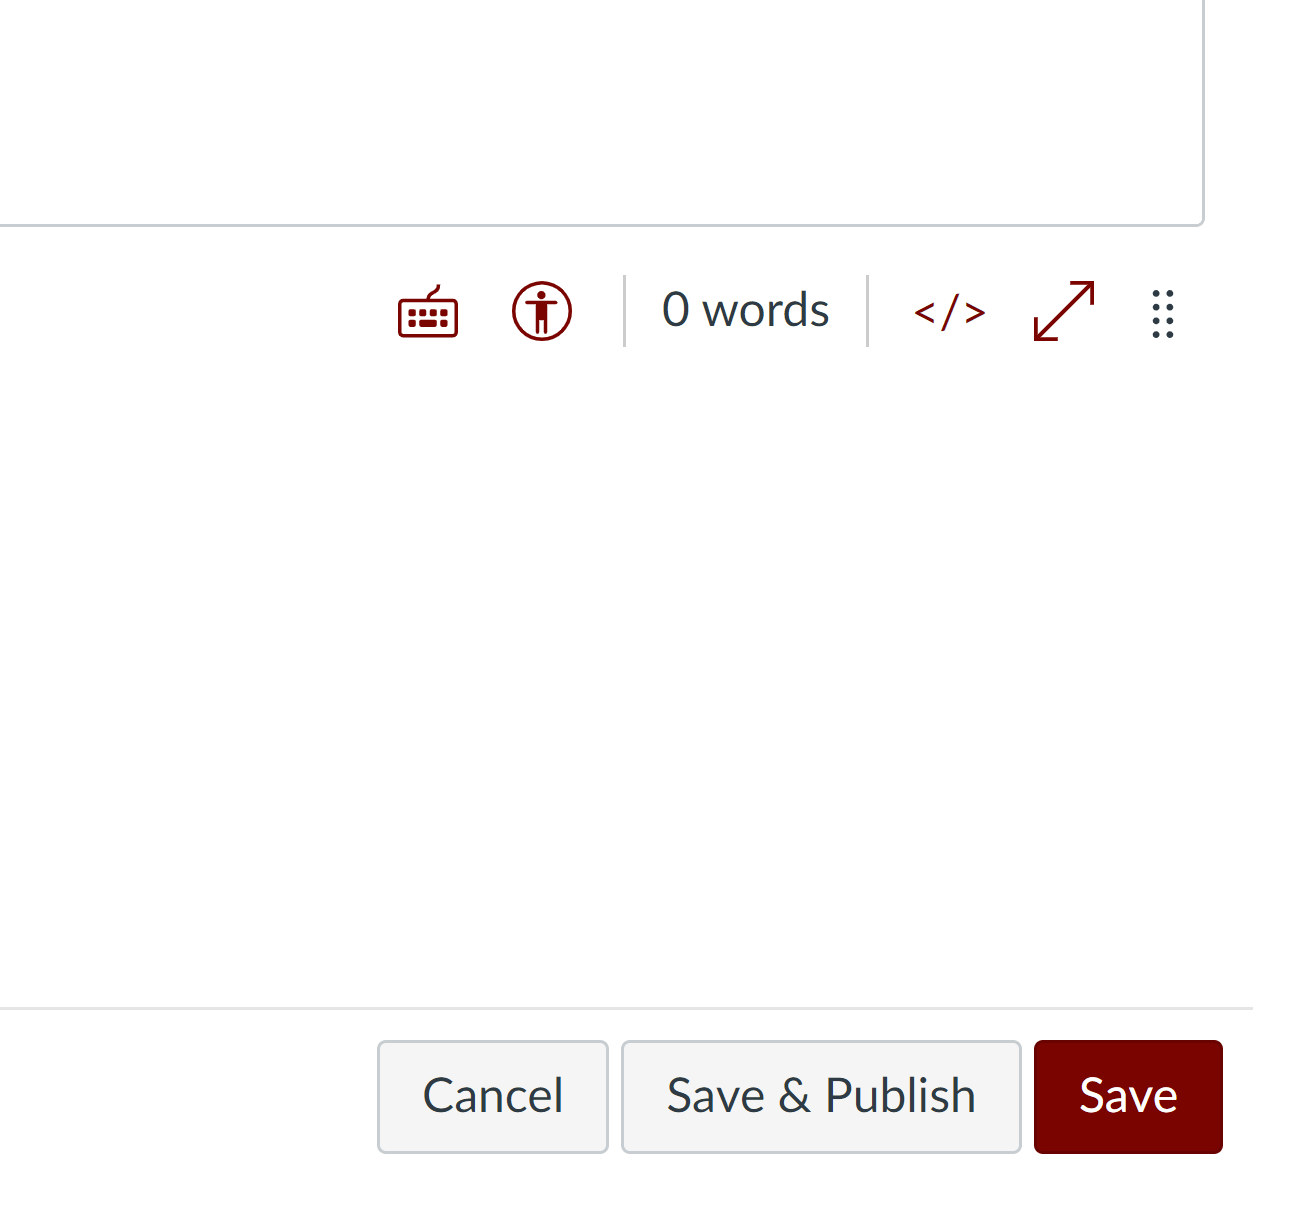
You can save your work at any time by clicking the maroon Save button. When you are ready for students to view the page, click Save and Publish.
Customize a Canvas Page
When you open your Canvas Page, you will see the Rich Content Editor (RCE) toolbar. This toolbar and the text box below it serve as a What You See Is What You Get (WYSIWYG) editor, similar to word processing software such as Microsoft Word.

With the RCE toolbar, you can:
- Change fonts, font size, and font style
- Bold, italicize, or underline text
- Change the text color or background color
- Insert hyperlinks, both to other pages in your Canvas site and to external sites
- Insert media (images, audio clips, video clips)
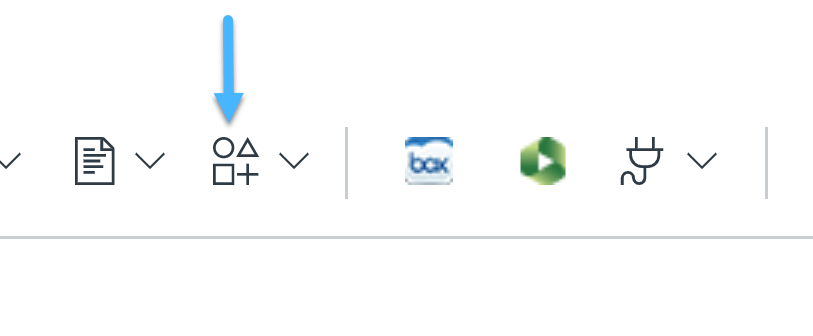
A new feature in the RCE toolbar is the Custom Icon Maker. With this feature, you can create custom icons to use throughout your Canvas site. These icons are saved as .svg (Scalable Vector Graphics) files, which allows them to appear sharp and clearly defined even if the size of the page is adjusted (e.g. if a student views your Canvas site on a tablet or mobile device).
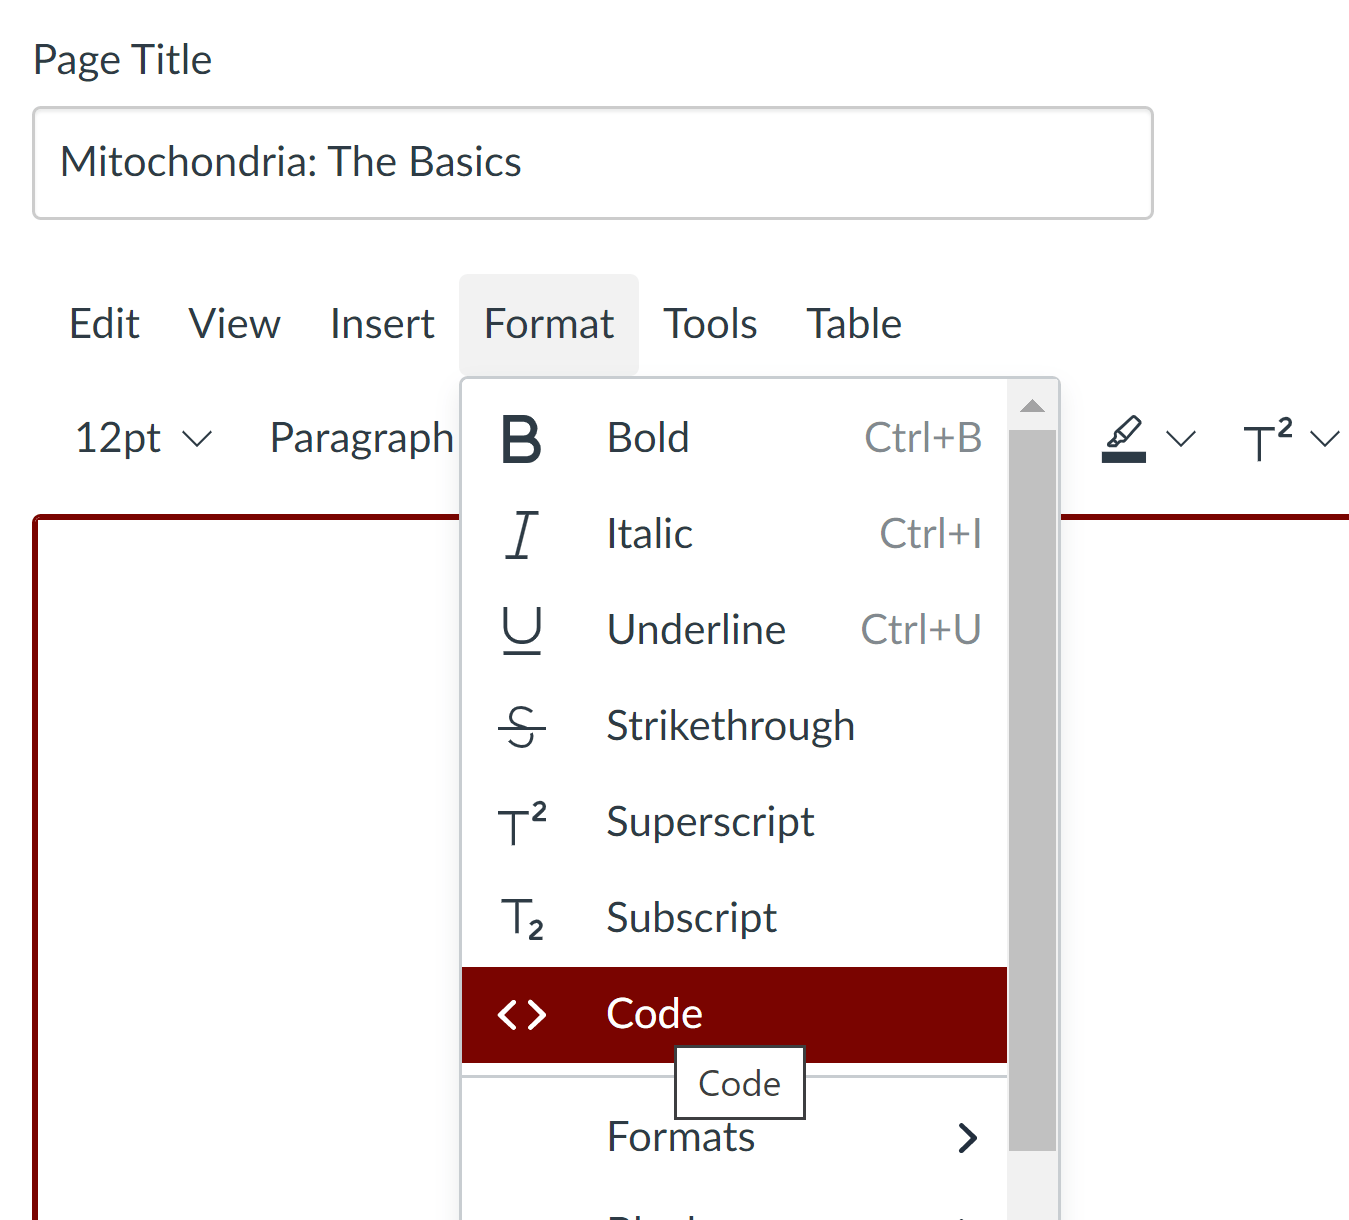
The RCE toolbar and Custom Icon Maker allow you a considerable degree of control over the look and feel of your Canvas page, even if you have no knowledge of HTML or Web design. However, if you are familiar with the basics of HTML, you can customize your page further by opening the HTML editor. To access this, click the maroon < / > icon at the bottom right corner of the RCE text box, or click Format and choose Code from the drop-down menu.

By editing the HTML of your page directly, you can:
- Add unordered (bulleted) and ordered (numbered) lists
- Add anchor links to jump to sections of the same page
- Create tabbed layouts to organize your content
- Create toggles to hide/display content with a click
Caveats about Customization 1: Avoid Complex HTML
At this point we must introduce two caveats. The first is that it is best to avoid complex or intricate HTML markup in your Canvas page. Instructure, the vendor for Canvas, updates it frequently, and an update may cause some HTML to display incorrectly or cease functioning. If you are in doubt as to whether a particular HTML instance is supported by Canvas, please reach out to ATS.
Caveats about Customization 2: Remember Accessibility
The second caveat is that, while aesthetics are important for a Canvas page (or any webpage), they should not come at the cost of accessibility. Remember that the population of Canvas users, like the population at large, is diverse and includes users with various disabilities that may make it difficult for them to navigate sites and pages that are not designed with accessibility in mind. We cannot give an exhaustive discussion here of all the potential issues related to accessibility, but a few to keep in mind are:
- Semantic structure. When organizing your page with headings, subheadings, and so forth, use the built-in headings under the Paragraph tab in the RCE toolbar, rather than simply changing the text size. The clearer the semantic hierarchy of your page, the easier it will be for users with screen readers to make sense of it.
- Color contrast. Be sure that the contrast between text color and background color is sufficient to allow users with visual impairments to read the text.
- Alt text. All images, except those that are purely decorative, should have accompanying text to describe them to screen readers.
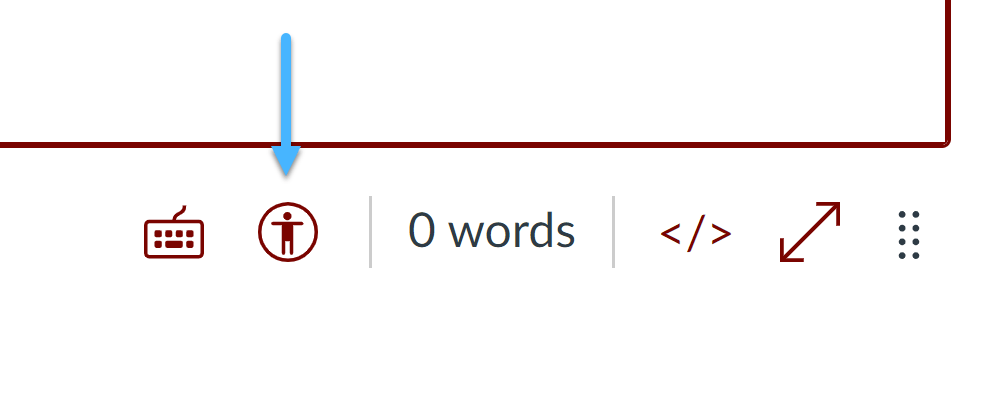
We encourage you to use Canvas’ built-in Accessibility Checker to test your page for potential issues. The Checker will flag commonly occurring issues and help you to correct them. You can access the Checker by clicking on the Accessibility icon at the lower right of the RCE text box.
If you have questions about accessibility, we encourage you to contact the Center for Digital Accessibility.
Use a Canvas Page as Your Course Home Page
Once you have created a Canvas Page, you can use it as your homepage for your Canvas site if you wish. Simply go to the Pages tab, click on the column of three dots across from the page name, and choose Use as Front Page from the drop-down menu that appears.

Note that a page must be published to be selected as your course homepage.
Organize Your Canvas Pages
Once you have built out multiple Canvas Pages, you may want to organize them into a coherent and navigable system. There are two ways of doing this, which are not mutually exclusive.
Pages in Modules
As an effective practice, it is a good idea to use Modules for building your course. Within Modules, you can include Canvas Pages as items for students to view either before or after a class session. For example, if students are to view a video before class, you could embed it in a Canvas Page and include several text questions for students to read and consider before viewing. Pages are also a good way to organize hyperlinks; if you find that a particular Module has numerous links, you might consider combining those into one Canvas Page instead.
Cross-Linking Pages and Hypertext
You can also put links to other Canvas Pages within a page itself. This allows students to navigate between pages quickly and easily. Note: As an effective practice, it is advisable not to rely on cross-linking as the primary means of organization for your Canvas site; it works well as a supplement to organizing material in Modules, rather than as a wholesale replacement for Modules.
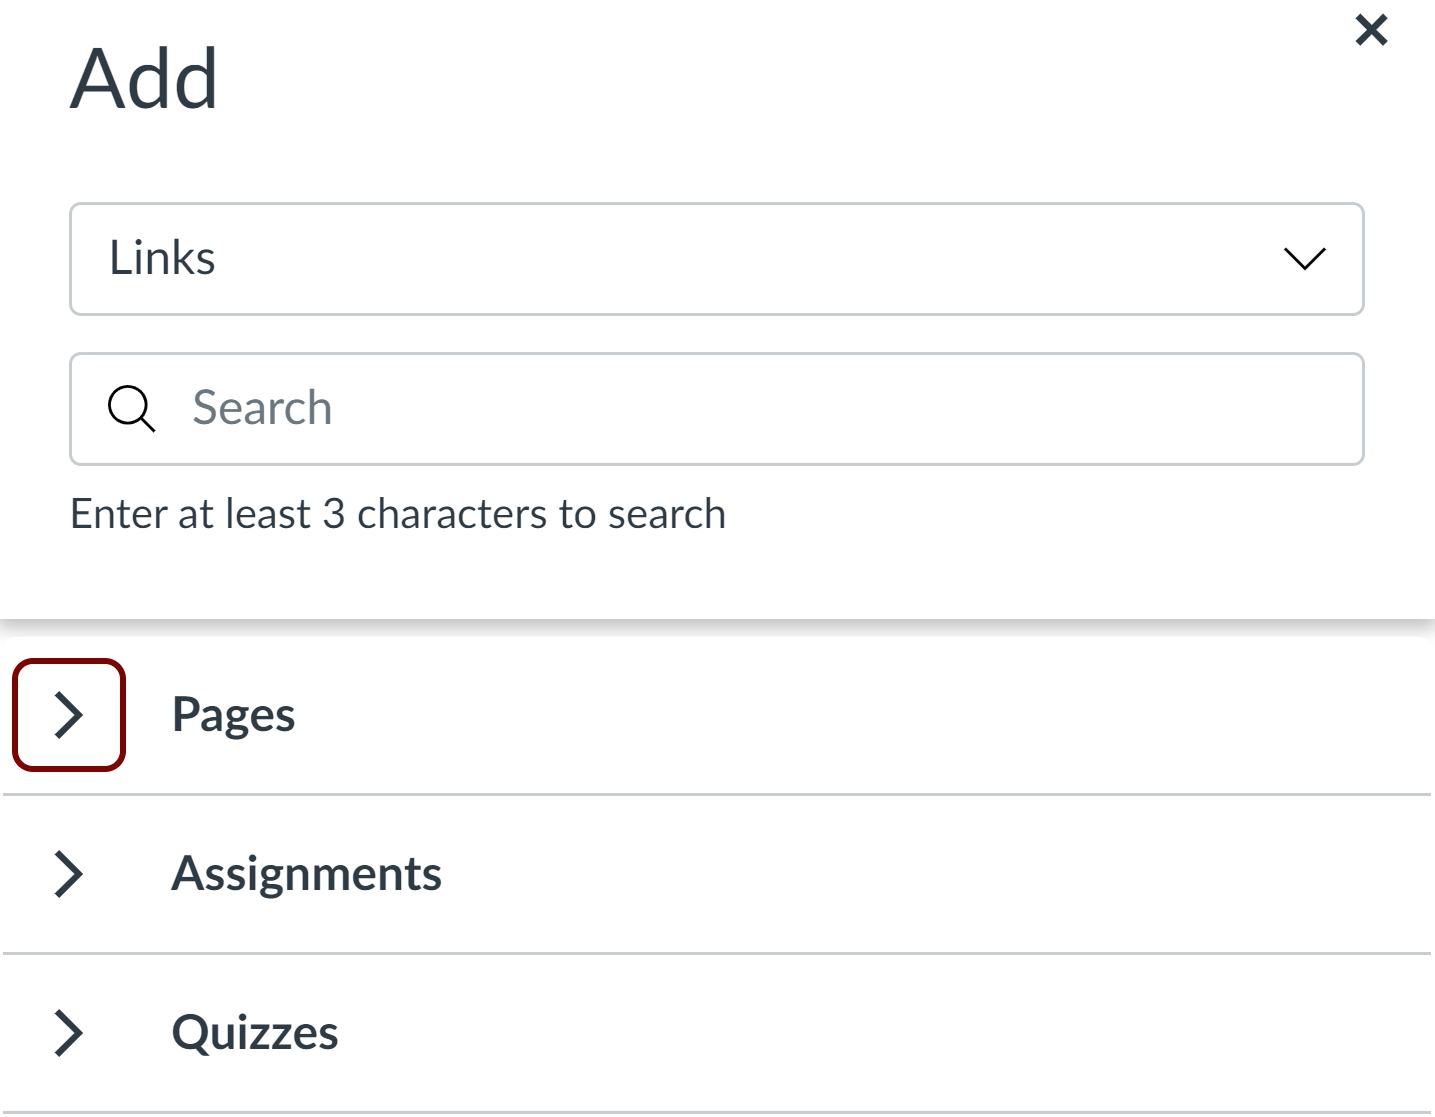
To add a link to a Canvas Page, simply click the Link icon in the RCE toolbar and select Course Links.
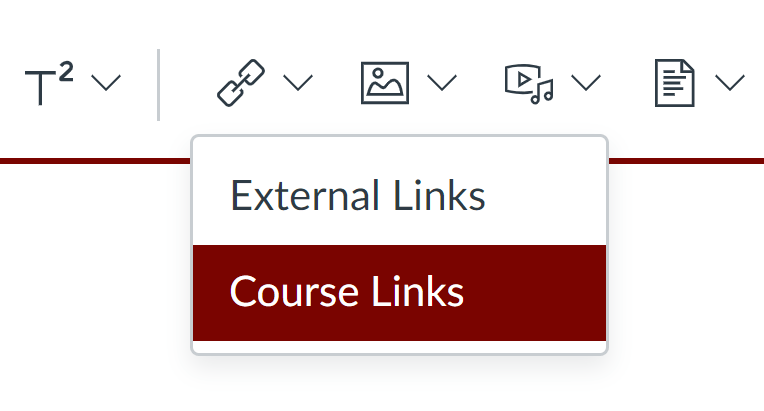
Then, choose a page from the Pages tab in the dialog box that appears.
Further Resources and Getting Help
If you would like to explore in greater detail about Canvas Pages, the Canvas vendor Instructure offers many helpful resources:
- What Are Pages? (text)
- How do I create a new page in a course? (text)
- Content Pages in Canvas LMS? (YouTube video)
You can also attend one of our workshops, set up a consultation with ATS, or drop by our Office Hours with any questions you may have about designing your Canvas site.
(Cover photo by Annie Spratt on Unsplash)